Good Coaching
Posted by Brandon Bennett
 Hopefully you caught my short article and videos that FMS recently posted regarding using tall-kneeling and half-kneeling holds to ‘hit save on a movement document.’
Here’s some background information on why I developed the kneeling holds, how I have successfully used them and when they work.
First of all, we’ve long used tall-kneeling and half-kneeling maneuvers as corrective exercises. Why? The position is just as important as the pattern. The position sets up the posture. The pattern sets up the movement.
Positions and postures need to have integrity, and patterns of movement need to have economy, or efficiency. I have found that we are overly concerned with patterns without being concerned with postures.
Aren’t postures and positions that occur between movement patterns like the empty spaces in music that occur between the sounds? If there was just continuous sound, it would be difficult to hear with any definition. If it was all empty space, you wouldn’t hear anything.
It’s the blend of static and dynamic that really makes movement happen.
The reason that kneeling is so important—in my mind, more important than quadruped or rolling patterns—isn’t because it’s more vital. If you need to reset a rolling pattern or we need to spend some time with the spine unloaded in a quadruped pattern, building time on simple low back exercises or something as complex as a bear crawl, then that’s fine but developmentally, tall kneeling is the first time that you truly load the spine.
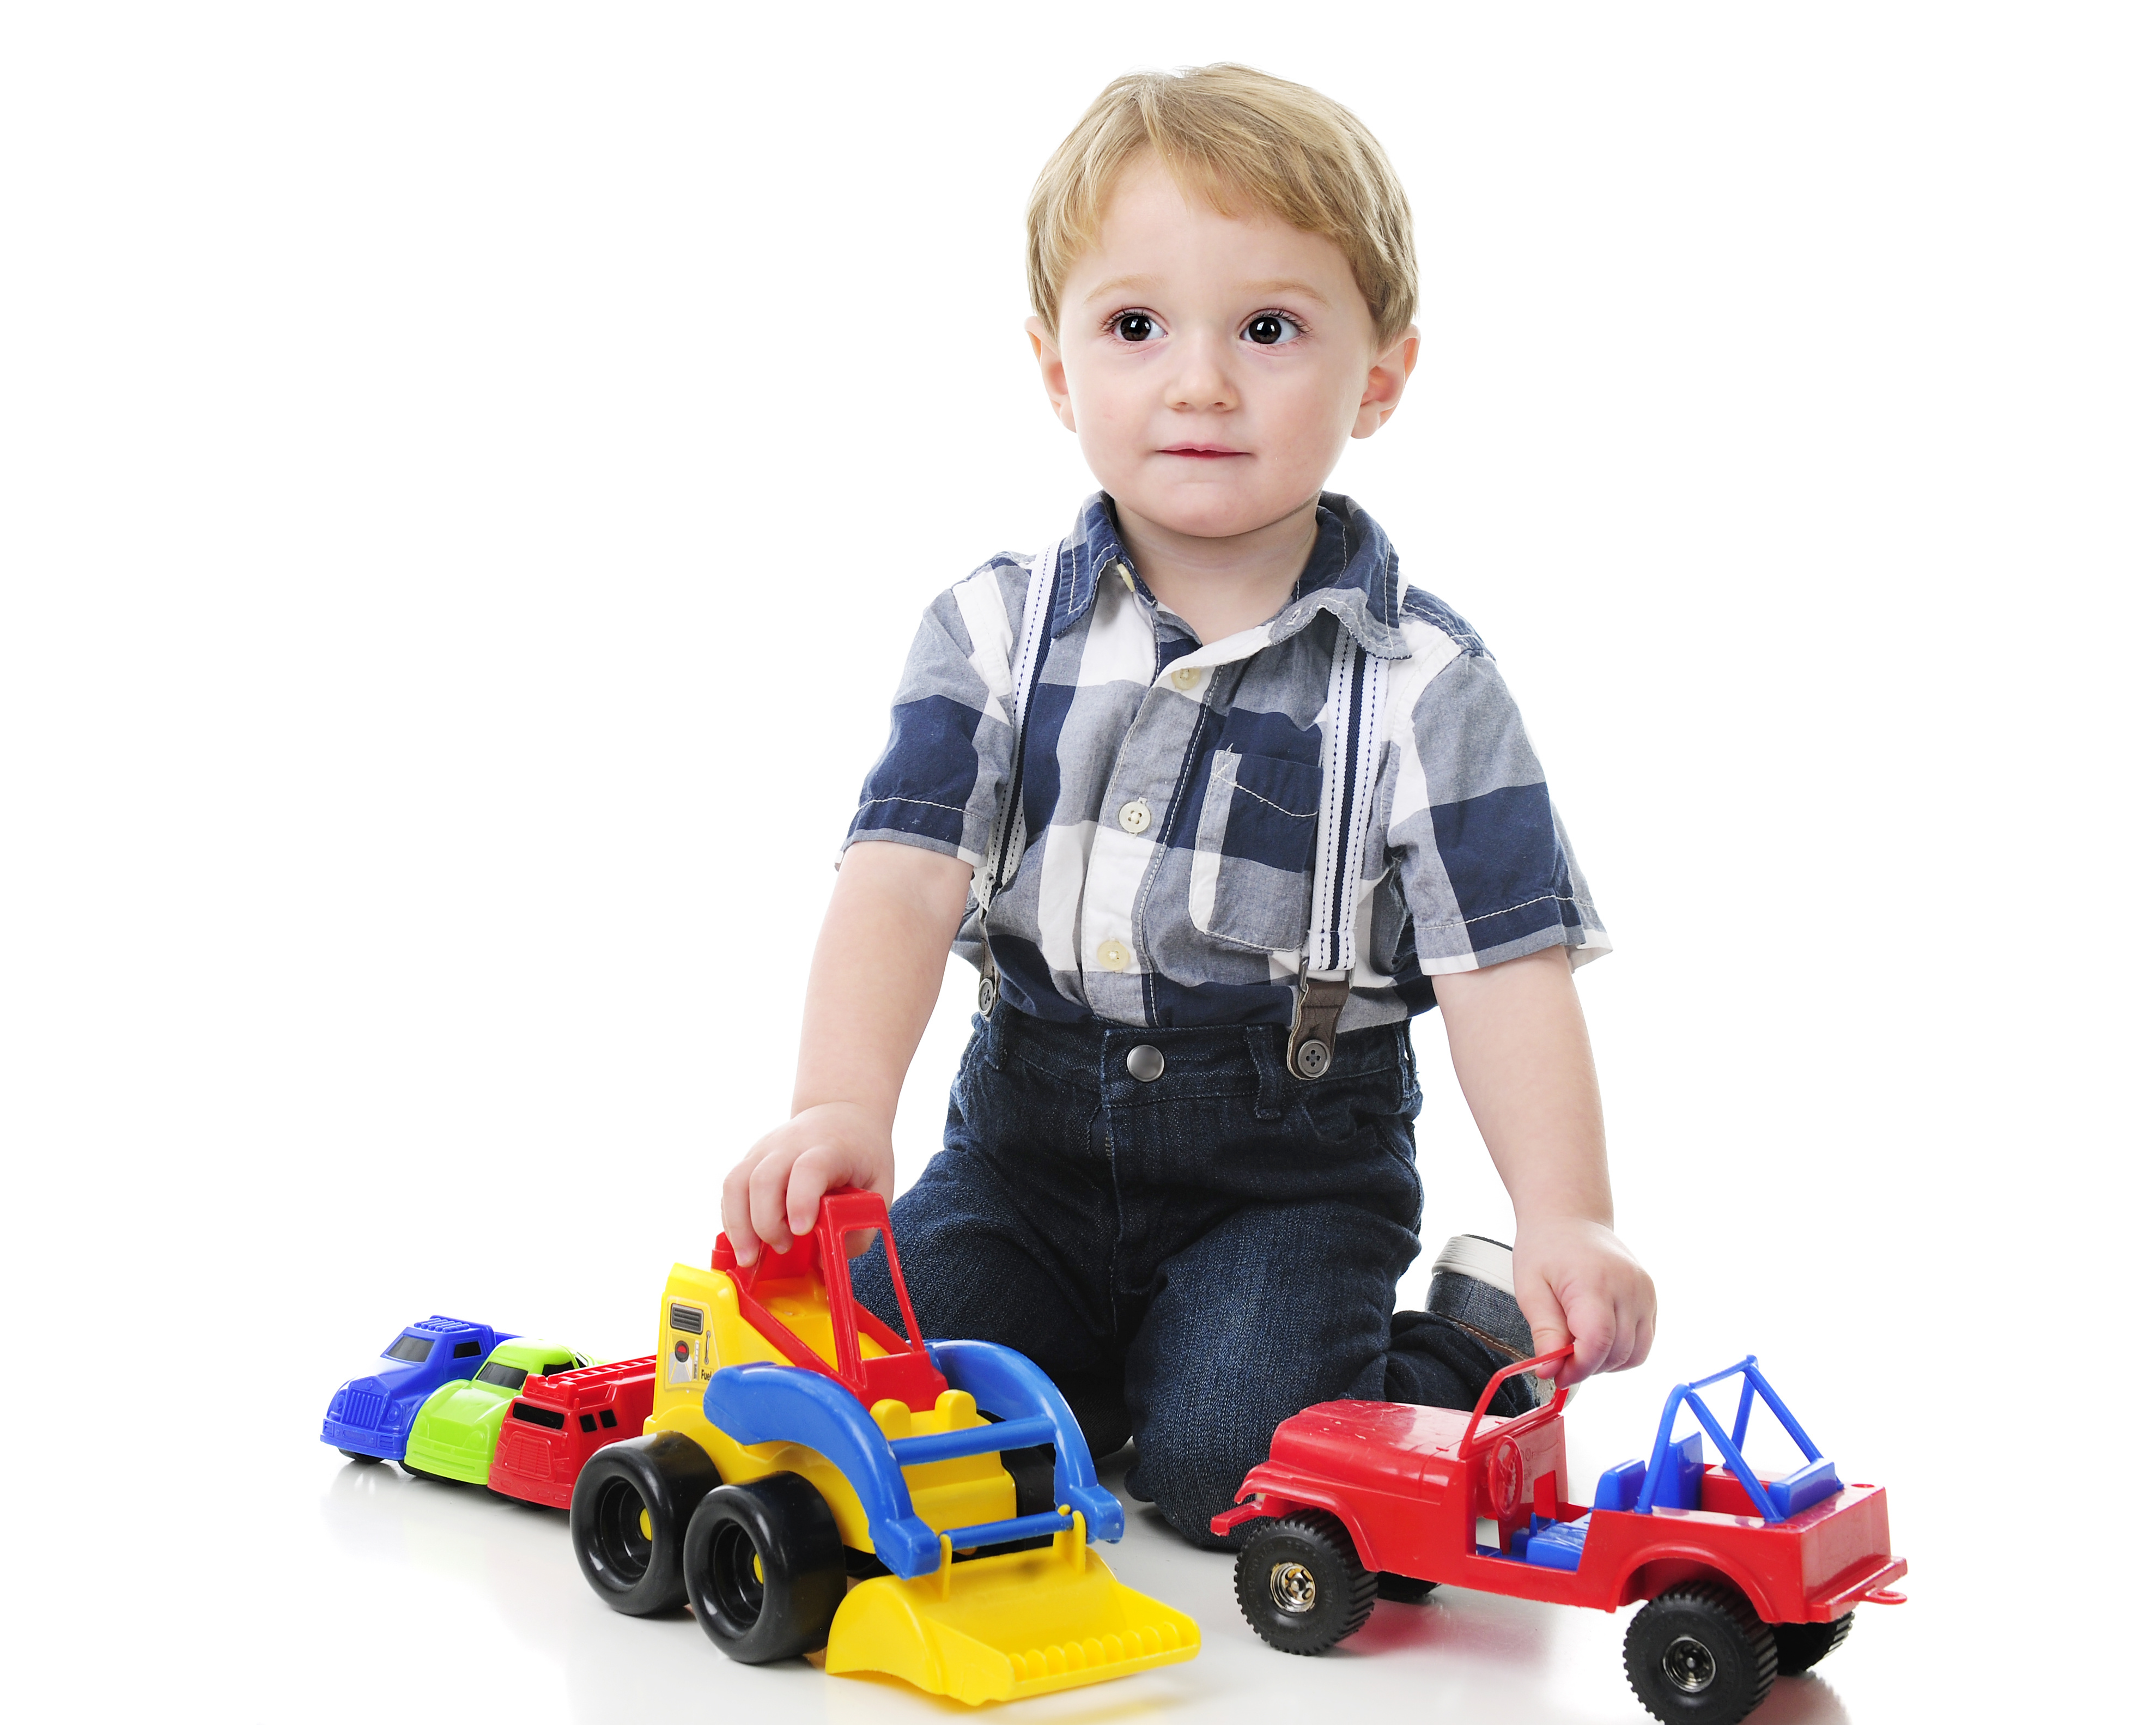 Observe a toddler crawling around on the ground. They don’t pop into a squat straight from crawling. They explore kneeling first, a lot of kneeling that really puts the crosshairs on the core and on stabilization. The ankles, the feet and the knees really don’t have a big role here. It’s primarily the core: the hips, the pelvis, the spine and the torso. The arms can be used to assist and hold onto weight or help you balance.
There’s something brilliant, something humbling, in those kneeling postures. When we take you off of your feet, all the better to see your mistakes. Maybe that’s why so many of the world’s religions always have some degree of kneeling or submissive posture.
If you’re not really good on your feet, let’s say, with one of these standing postures but you look awesome on your knees, then, let’s do a little deductive reasoning. There’s probably a bigger issue going on below your knee than above your knee but if we see you hide it when you’re standing and we see it exposed when you’re kneeling, that’s when we’re thinking ‘hips.’ That’s when we’re thinking ‘core.’ That’s when we’re thinking ‘stability.’
Tall kneeling postures are the best way to target the hips, the spine and the upper thoracic spine.
Tall-Kneeling
Both knees are down in tall-kneeling, and in this specific drill, a wide base is vital. It allows you to explore motion that you otherwise would not explore without such a stable base (training wheels, if you will). Not to say that it’s going to be easy, it’s actually quite challenging.
Active insufficiency (when a muscle cannot shorten anymore, occurs with the agonist.) and passive insufficiency (when a muscle cannot stretch anymore, occurs with the antagonist) occur in tall-kneeling. Consider those definitions. When your quads are too long to do any remarkable work and when your hamstrings are too short to do any remarkable work, you’re left with nothing but your glutes, your pelvis, your abdominals. Vladimir Janda described the Lower Crossed Syndrome and we’re going to challenge that in this move.
You’ll hold it in front of you and eventually, take it around behind you. Here’s the big caveat: if you’ve got ‘1’s’ on the shoulder mobility or the active straight leg raise in the Functional Movement Screen, that means you’re bringing a mobility problem to a motor control or stability workout.
Don’t.
Why is it a problem? When your mobility is compromised, you are sensory deprived and in this exercise, I will be asking you to maximize the way you process the sensory information that’s available to you.
If a few minutes of foam rolling and a little bit of stretching can get you more sensory information, why would you attempt to process so much imperfect information? Even a three or four degree change in hip extension will add loads of opportunity to motor control in a new position.
This is your warm-up. This is your superset. This is, perhaps, the greatest way for you to enter and exit a workout, making sure that some degree of integrity is still evident in the posture and position of your core in that hip extended, lumbar stacked-and-racked position.
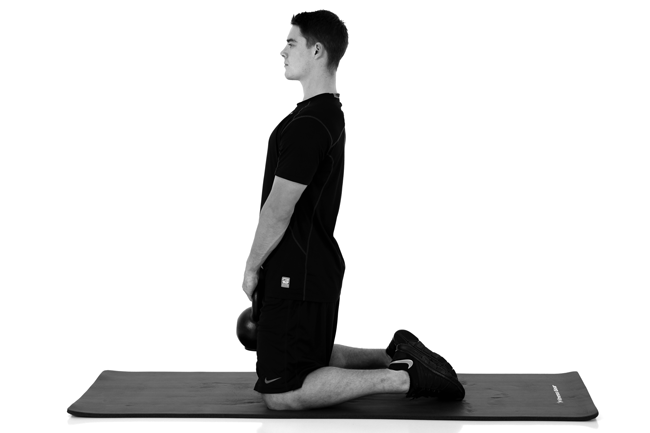 Looking closer at tall-kneeling, we have a triangle posture—the feet are turned in and the knees are as wide as you can comfortably go. We could all go wider with discomfort, but I need you in full hip extension. You’ll start with the kettlebell up front and you’ll simply see if you can just hold that for a minute or two. Work it out. Get those shoulders down and always push the kettlebell to the ground. This will really help you find your center.
Here's a checklist that will help as you coach this tall-kneeling position.
Once you’ve been there for about a minute and you really feel the load, you should not be shrugging or over-gripping the kettlebell. Remember at any given time, I want you to be so efficient with this that I could say, “hold that kettlebell for 10 minutes as if your life depends on it” and I want you to be able to do that. This isn’t a smoke check. It will smoke some people, but not intentionally.
The first thing I need to do with these positional holds is to create an experience—to show you where the bottleneck or problem exists. Once you’ve held in this static hold, I want you to turn your head and explore the range of motion of your neck, leading with your eyes to see as far behind you as possible without moving your shoulders or the kettlebell.
Once you’ve done that on both sides and it feels somewhat equal, you can move on. If you don’t feel equal and if there’s pain, this is not for you. You created a situation that’s far less intense than most workouts and if it’s already hurting you, you should probably get it checked out.
Now, if your neck doesn’t turn to one side because it just feels stiff, here an opportunity where you acquisition everything you’ve ever learned about breathing.
Slow your breathing down.
Make your exhale last a lot longer than your inhale.
Gain new motion on an exhale and come back on the inhale.
Do it again and just do a few moves.
In the time it takes to ask me, “why is this tight?” you could probably loosen it up just by breathing.
It’s probably tight because you haven’t been there in a while. Or because you do all your work to your left on your computer screen. I don’t know and it really doesn’t matter, especially if it could be gone in five minutes without asking a question. Stop asking questions. Do the move.
Now, we’re going to do the exact same thing, adding a shoulder turn. If it’s asymmetrical, we’re going to work on the side that doesn’t turn. If it’s painful, then we’re going to figure out why you’re in pain. Lastly, we’re going to turn the head and the shoulders in sequence and then the kettlebell. You’re going to go maximum range of motion in a shoulder turn without changing your hip position.
When you get to the very end of your range of motion, it’s not going to be easy to breathe. Back off one inch and cycle some breaths. Usually on one side, people are just going to feel like they “just don’t want to be here anymore.” It’s going to be like somebody squeezing you—you can’t get a full breath. It’s not really discomfort, but it doesn’t feel natural.
If you can distinguish that feeling from pain, what’s the harm in staying there for a few more breaths? If it feels a little bit better after about 10 controlled breaths, the exact opposite of panic breathing, then go 10 more breaths.
Download a checklist that will help as you coach this tall-kneeling position.
In tall-kneeling, once you’ve developed your front carry position and your turns are symmetrical, I’m going to turn up the intensity . . . but not by going up in weight.
Take the kettlebell behind you and remember to keep pressing it to the ground. Remember that throughout all of the different positions: keep pressing it to the ground. You’re going to have a tendency to shrug, especially when you take it behind and the best way not to shrug is to press it to the ground. It’s an anti-shrug but it resets that rack-and-stack position.
With the kettlebell behind you, it’s going to squeeze every bit of available hip extension you have with integrity. You’re going to want to go into some protective flexion if your abdominals and hip flexors are coming on too early. They can have integrity without having to have unnecessary tension.
Be patient. Take some time. It’s going to happen quickly (probably not quick enough for us) but it will happen. And not because you forced it. It’s because as your times go up and your breathing gets better, your integrity looks better.
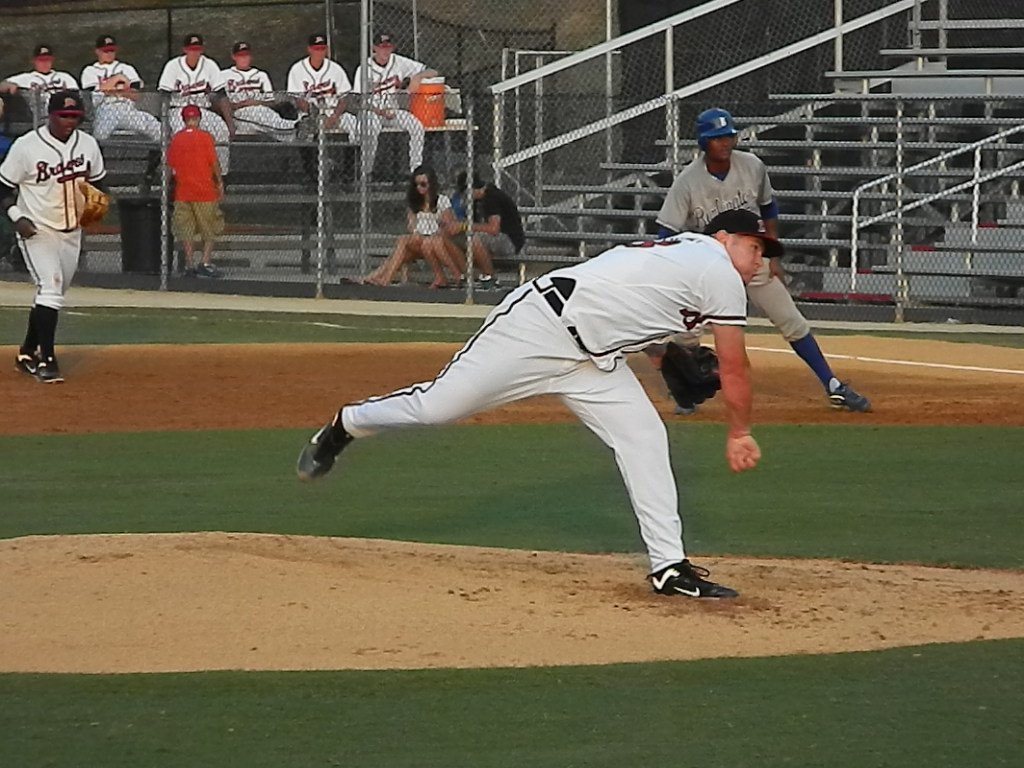 Think about throwers and golfers—our one-sided athletes. There is a part of mobility that they don’t explore. I recommend that they use postural exercises to get the integrity of their postures back.
We should reset those postures and get you back to your center every chance we can get. We don’t have to do complex movements bilaterally. We must do basic movements bilaterally. This is an excellent opportunity to check your breathing and thoracic spine mobility.
Sometimes, people see better pressing and better shoulder workouts after the tall-kneeling holds. We’re seeing Janda’s Upper Crossed Syndrome. The Lower Crossed Syndrome describes how we will sometimes use our hip flexors to make up for what our abdominals aren’t doing and our low back to make up for what our glutes aren’t doing.
The same thing occurs in the upper body. If we don’t have integrity, we shrug everything and use our traps and our neck inappropriately but in this hold position in tall kneeling, alignment is key. If you are not aligned, you won’t be able to do it. If you are aligned, you’re going to be looking around saying, “what’s the big deal?”
Remember, postural muscles have to be on all day. Postural muscles control the alignment while the prime movers do something with those angles—they make patterns. If the postural muscles and the prime movers work together, you are efficient. You can’t have efficiency without both, and the first ones on board are postural muscles. Pattern muscles come on after them.
In these positions, we explore thoracic spine mobility. When you make your thoracic spine rotation to the right and your thoracic spine rotation to the left more symmetrical, you improve thoracic spine extension. You make it easier for your scapula to stabilize and for you to clear your shoulder overhead.
If you’re trying to get a better Turkish Getup or a military press, tall-kneeling holds can get you there if your scapular integrity or that lumbar stacked or level pelvis position aren’t available when you’ve been doing your overhead work. Take those quads and hamstrings out of the game. Take those good, strong feet and ankles out of the game and let’s see what you’ve got when you’re on your knees.
Tall-kneeling is a humbling and often humiliating position for very strong people. But if you practice full engagement, if you use your breath, you will have an experience and not just an exercise.
Posted by Brandon Bennett
Posted by Mike Perry
Posted by Gray Cook
Posted by FMS
Maybe what I need to really regain my center after bilateral hips replacements.
Dear Gray - great point about the quality of the posture being the key underlying factor to the movement quality upon which it is based.
I am very very happy to be part of functionalmovement.com crew -)
Way to overthink Helen.
Great advice and always great to read new points about these things around the FMS!
Great info and explanations! Definitely for myself to implement with bilateral hip replacements, plus a "redo" to fix all the additional problems the first one caused! And, definitely as well for clients who struggle with posture from work demands. Thank you for this!